Stacks Image 4
Official TREZOR Partner

Set-up guide Trezor Model T

Set-up guide Trezor Model T

  1. Set up process

    My Image

    Follow the below instructions in order to start using the Trezor Model T.

    We will guide you step-by-step, starting with the unboxing of the Trezor Model T device, followed by its set up.

  2. Open the box

    My Image

    Open the box by lifting the magnetic lid situated at the bottom of the box. On the left side of the box, the Trezor Model T device is resting on a magnetic dock. On the right side of the box, there is a little black box containing the accessories.

  3. Verify the security seals

    My Image

    Remove the Trezor Model T from its magnetic dock.

    Verify that the security seal that is placed on top of the USB-C port is intact. If the security seal is intact this means you can be certain that the Trezor device has not previously been used or tampered with.

    In the event the security seal would be missing or is broken, please contact us at info@cryptohardware.be

  4. Contents of the box

    My Image

    Unbox the little accessories box. The accessories box contains the following items:

    USB-C cable for connecting the Trezor Model T to a desktop or laptop;
    2x plastic cards for writing down your seed key;
    1x magnetic dock;
    1x Instructions manual; and
    4x TREZOR stickers.

  5. Set up of the Trezor Model T

    My Image

    Install the “Trezor Bridge” software. The installation of the Trezor Bridge software will allow your Trezor Model T device to connect to your web browser.

    Make sure either Google Chrome or Mozilla Firefox is installed on your computer (Trezor Bridge is compatible only with said 2 browsers).

    Close and restart your web browser after the installation of the Trezor Bridge software.

    Connect the Trezor Model T with your computer via the USB-C cable that was included in the accessories box.

    Follow the instructions shown on the screen of your Trezor Model T device; open trezor.io/start in your web browser (i.e. Google Chrome or Mozilla Firefox).

    Choose Trezor Model T on the web page appearing in your web browser.

  6. Set up of the Trezor Model T

    My Image

    Click on the green button ‘Continue to wallet’ in your web browser.

  7. Install Firmware

    My Image

    For security purposes, the Trezor Model T device has no firmware installed out of the box.

    Start by installing the firmware on the Trezor Model T device by clicking on the green button ‘Install firmware’.

  8. Waiting for firmware to be installed

    My Image

    The installation of the firmware can take several minutes. Please be patient.

  9. Create new wallet

    My Image

    Once you have installed the firmware, the following 2 options will appear in your web browser:

    1/ Create a new wallet.
    2/ Recover wallet.

    Click on the green button ‘Create new’ if you are using a Trezor device for the first time or if you already own a Trezor device but you want to create an entirely new wallet.

  10. Waiting for new wallet to be created

    My Image

    Once you have made your choice, please wait a few moments before your Trezor Model T is ready for the next part of the set-up process.

  11. Continue to the wallet

    My Image

    Once your Trezor Model T device is ready, click on the green button ‘Continue to the wallet’ in order to complete the set-up process (Highly recommended) or start exploring some of the Trezor Model T’s functionalities by browsing through the slide deck appearing in your web browser and clicking on ‘Learn more’.

    In order to complete the set-up process, you will still need to (1) create a backup of the Trezor Model T device, (2) give a name to the Trezor Model T device and (3) choose a PIN.

  12. Create a backup

    My Image

    fter having clicked on the green button ‘Continue to the wallet’ you will be presented with the possibility of creating a backup of the Trezor Model T device. It is absolutely essential to create a backup of your Trezor Model T device before you start using the Trezor Model T for sending or receiving cryptocurrency. The seed key that you will be asked to write down during the backup process will give you the assurance that you will always be able to access your cryptocurrency stored on the Trezor Model T device in the future, no matter the circumstances (e.g. in case you would lose the Trezor Model T device, in case you damage your Trezor Model T device, in case you forget your PIN, etc.).

    Click on ‘Create a backup in 3 minutes’.

    My Image
    My Image

  13. Backup process

    My Image
    My Image
    My Image

    Follow the instructions shown on the screen of the Trezor Model T device and in your web browser.

    Follow the instructions shown on the screen of the Trezor Model T device and accurately write down the seed key (i.e. correct spelling and in the right order), composed out of 12 words in total, on the seed key plastic cards included in the accessories box.

    It is essential that you store your seed key only offline and in a secure place which only you can physically access. Never make an electronic copy of your seed key (e.g. on your phone or computer).

  14. Cryptosteel

    My Image

    In this regard, we highly recommend using a Cryptosteel (link invoegen naar de product pagina Cryptosteel) for safely storing the seed key of your Trezor Model T device, in a way that is indestructible.

  15. Seed key

    My Image
    My Image

    After having written down all the words of the seed key (twice) on the plastic seed key cards, type in the correct words of the seed key on the Trezor Model T device by using its touch screen, as indicated on the screen of the Trezor Model T device. *

    *The letters of the alphabet are shown on the touchscreen of the Trezor Model T, in groups of 3 letters, in 9 different squares. In order to select a specific letter, begin by selecting the right square and then press again on the same square to alternate between the letters.

    Congratulations. You have successfully backed up your Trezor Model T device. Click on the green button ‘Continue’ in your web browser in order to complete the next steps of the set-up process.

  16. Confirm Name

    My Image
    My Image

    Click on the green button ‘Continue’ to start the process of naming your Trezor Model T device.

  17. Confirm on the Trezor Model T device

    My Image
    My Image

    Confirm the action on your Trezor Model T device.

  18. Choose a PIN

    My Image
    My Image

    Click the green button ‘Continue’ in your web browser.


  19. Choose a PIN

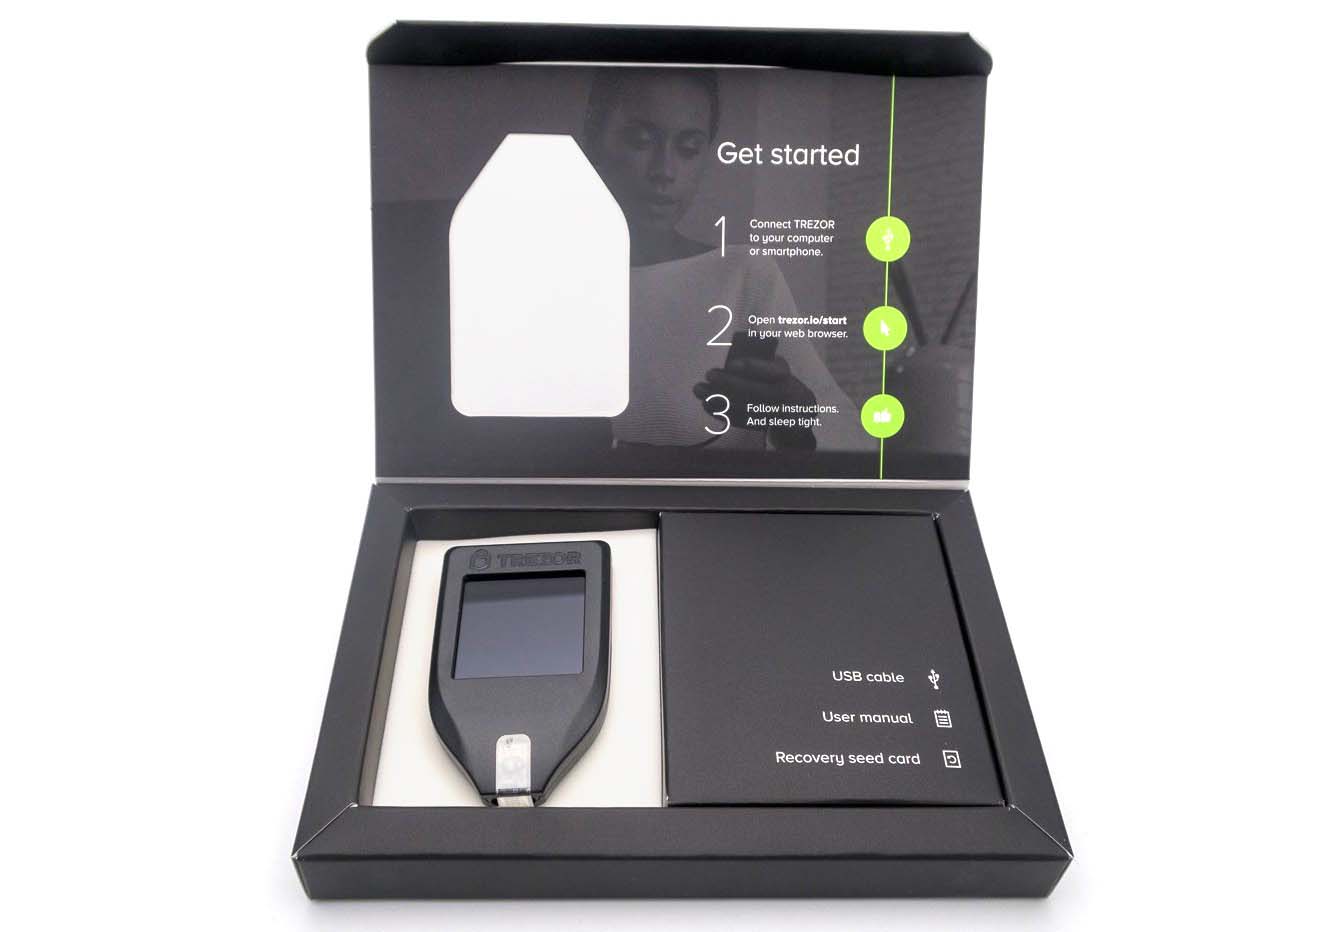
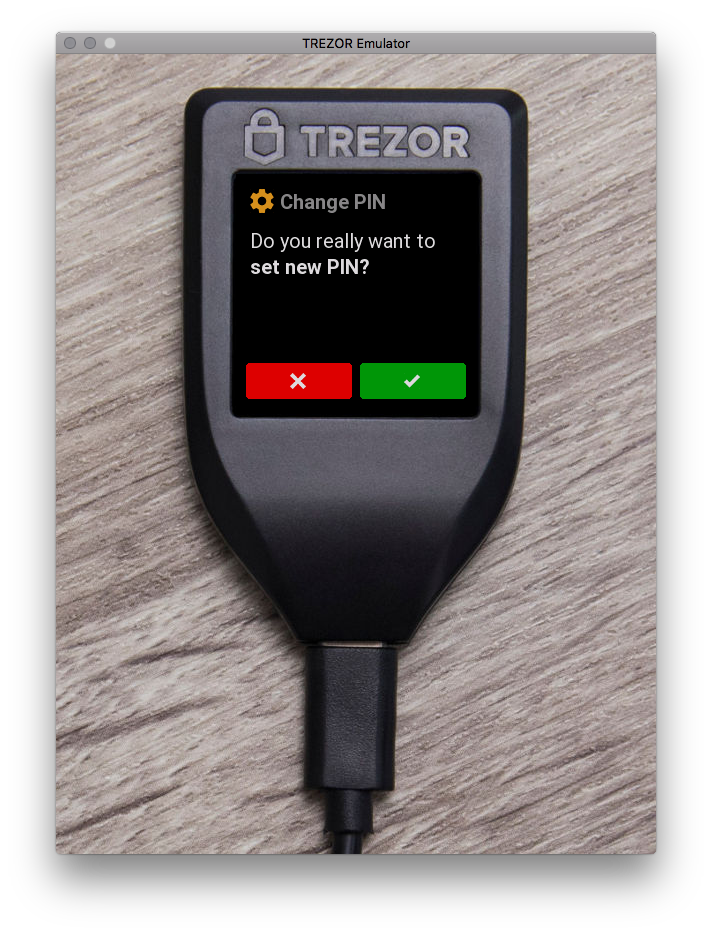
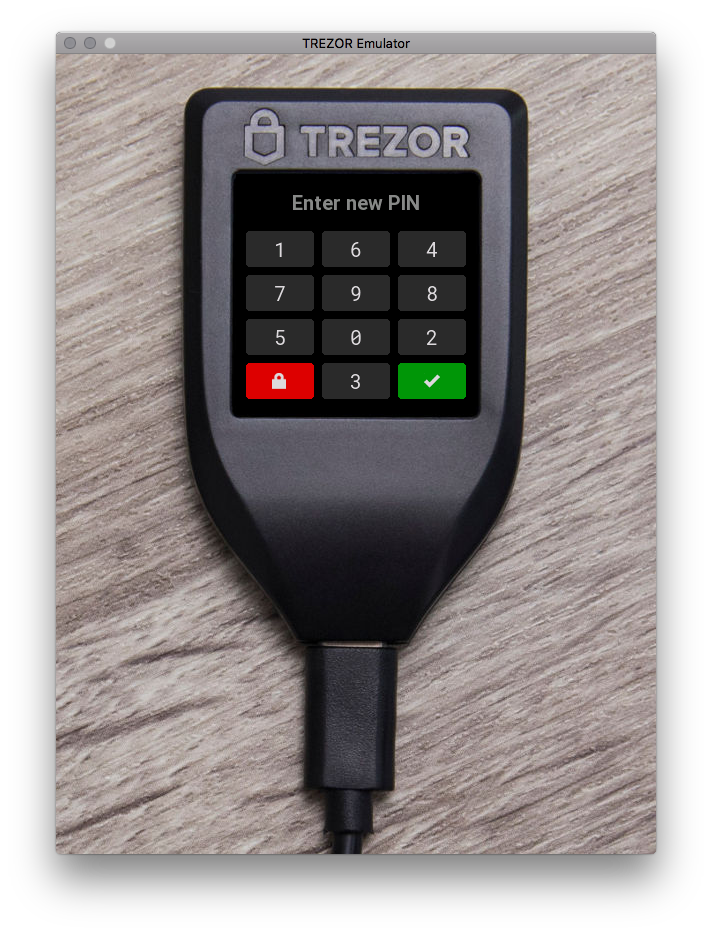
    Follow the instructions shown on the touchscreen of the Trezor Model T device and choose your PIN.

    My Image
    My Image

    My Image

    WARNING: The second time you are asked to enter your PIN, the random order of numbers shown on the touchscreen of your Trezor Model T device has changed. Hence, make sure to use the correct numbers shown on the touchscreen of the device when re-entering the PIN for a second time.

  20. Finish

    My Image
    My Image


    Congratulations. The PIN of your Trezor Model T device is set. Your Trezor Model T is ready to go.

    Click on the green button ‘Continue’ in your web browser.

    Click on the green button ‘Finish’ in your web browser.

Vous avez complété l'installation

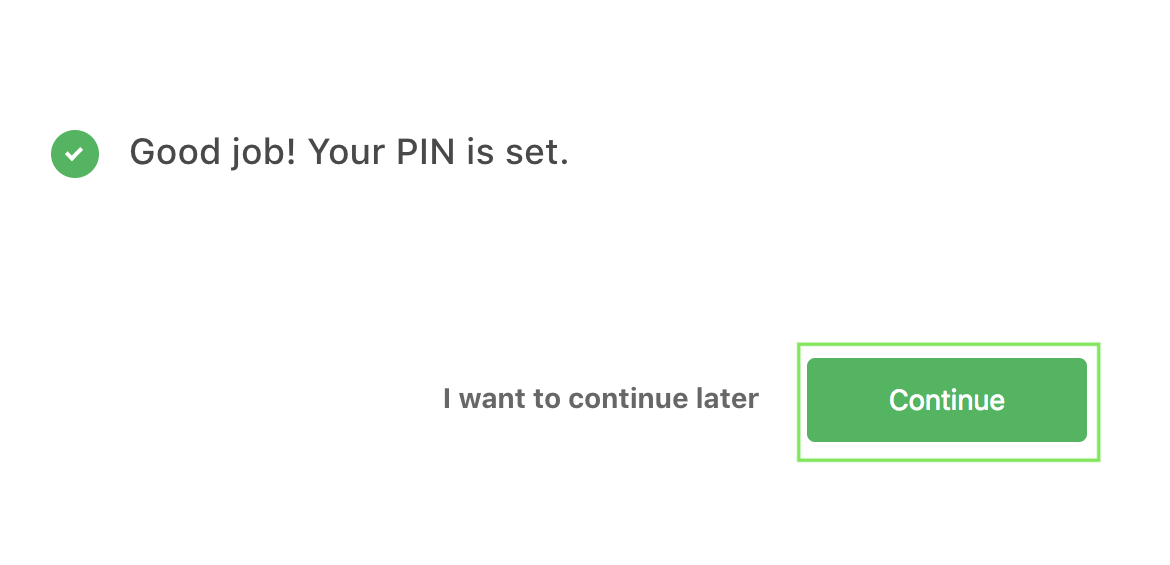
You have managed to complete the set up process of your Trezor Model T device and you are now able to take advantage of all its functionalities, such as sending and receiving cryptocurrency, make use of the Trezor password manager or use the Trezor Model T as a next generation U2F security token for better securing your online accounts (e.g. email, social media accounts, could storage accounts, etc.).

In case you would have any questions regarding the Trezor Model T, we kindly invite you to take a look at our Frequently Asked Questions page and/or Resources page (link invoegen naar de pagina Resources).

ORDER YOUR HARDWARE WALLET TODAY TO SECURE YOUR CRYPTOCURRENCY

Trezor T cryptohardware

Business information

Genesis Block BVBA
Avenue Winston Churchill 220
1180 Uccle
Belgium
BTW: BE0685844735

Products


We use cookies to ensure that we give you the best user experience on our website. By clicking OK, you consent to our use of cookies on this device in accordance with our cookie policy, unless you have disabled them.